training

Mix 04 by Xuan Prada

Hello patrons,

First video of 2022 will be a mix of topics.

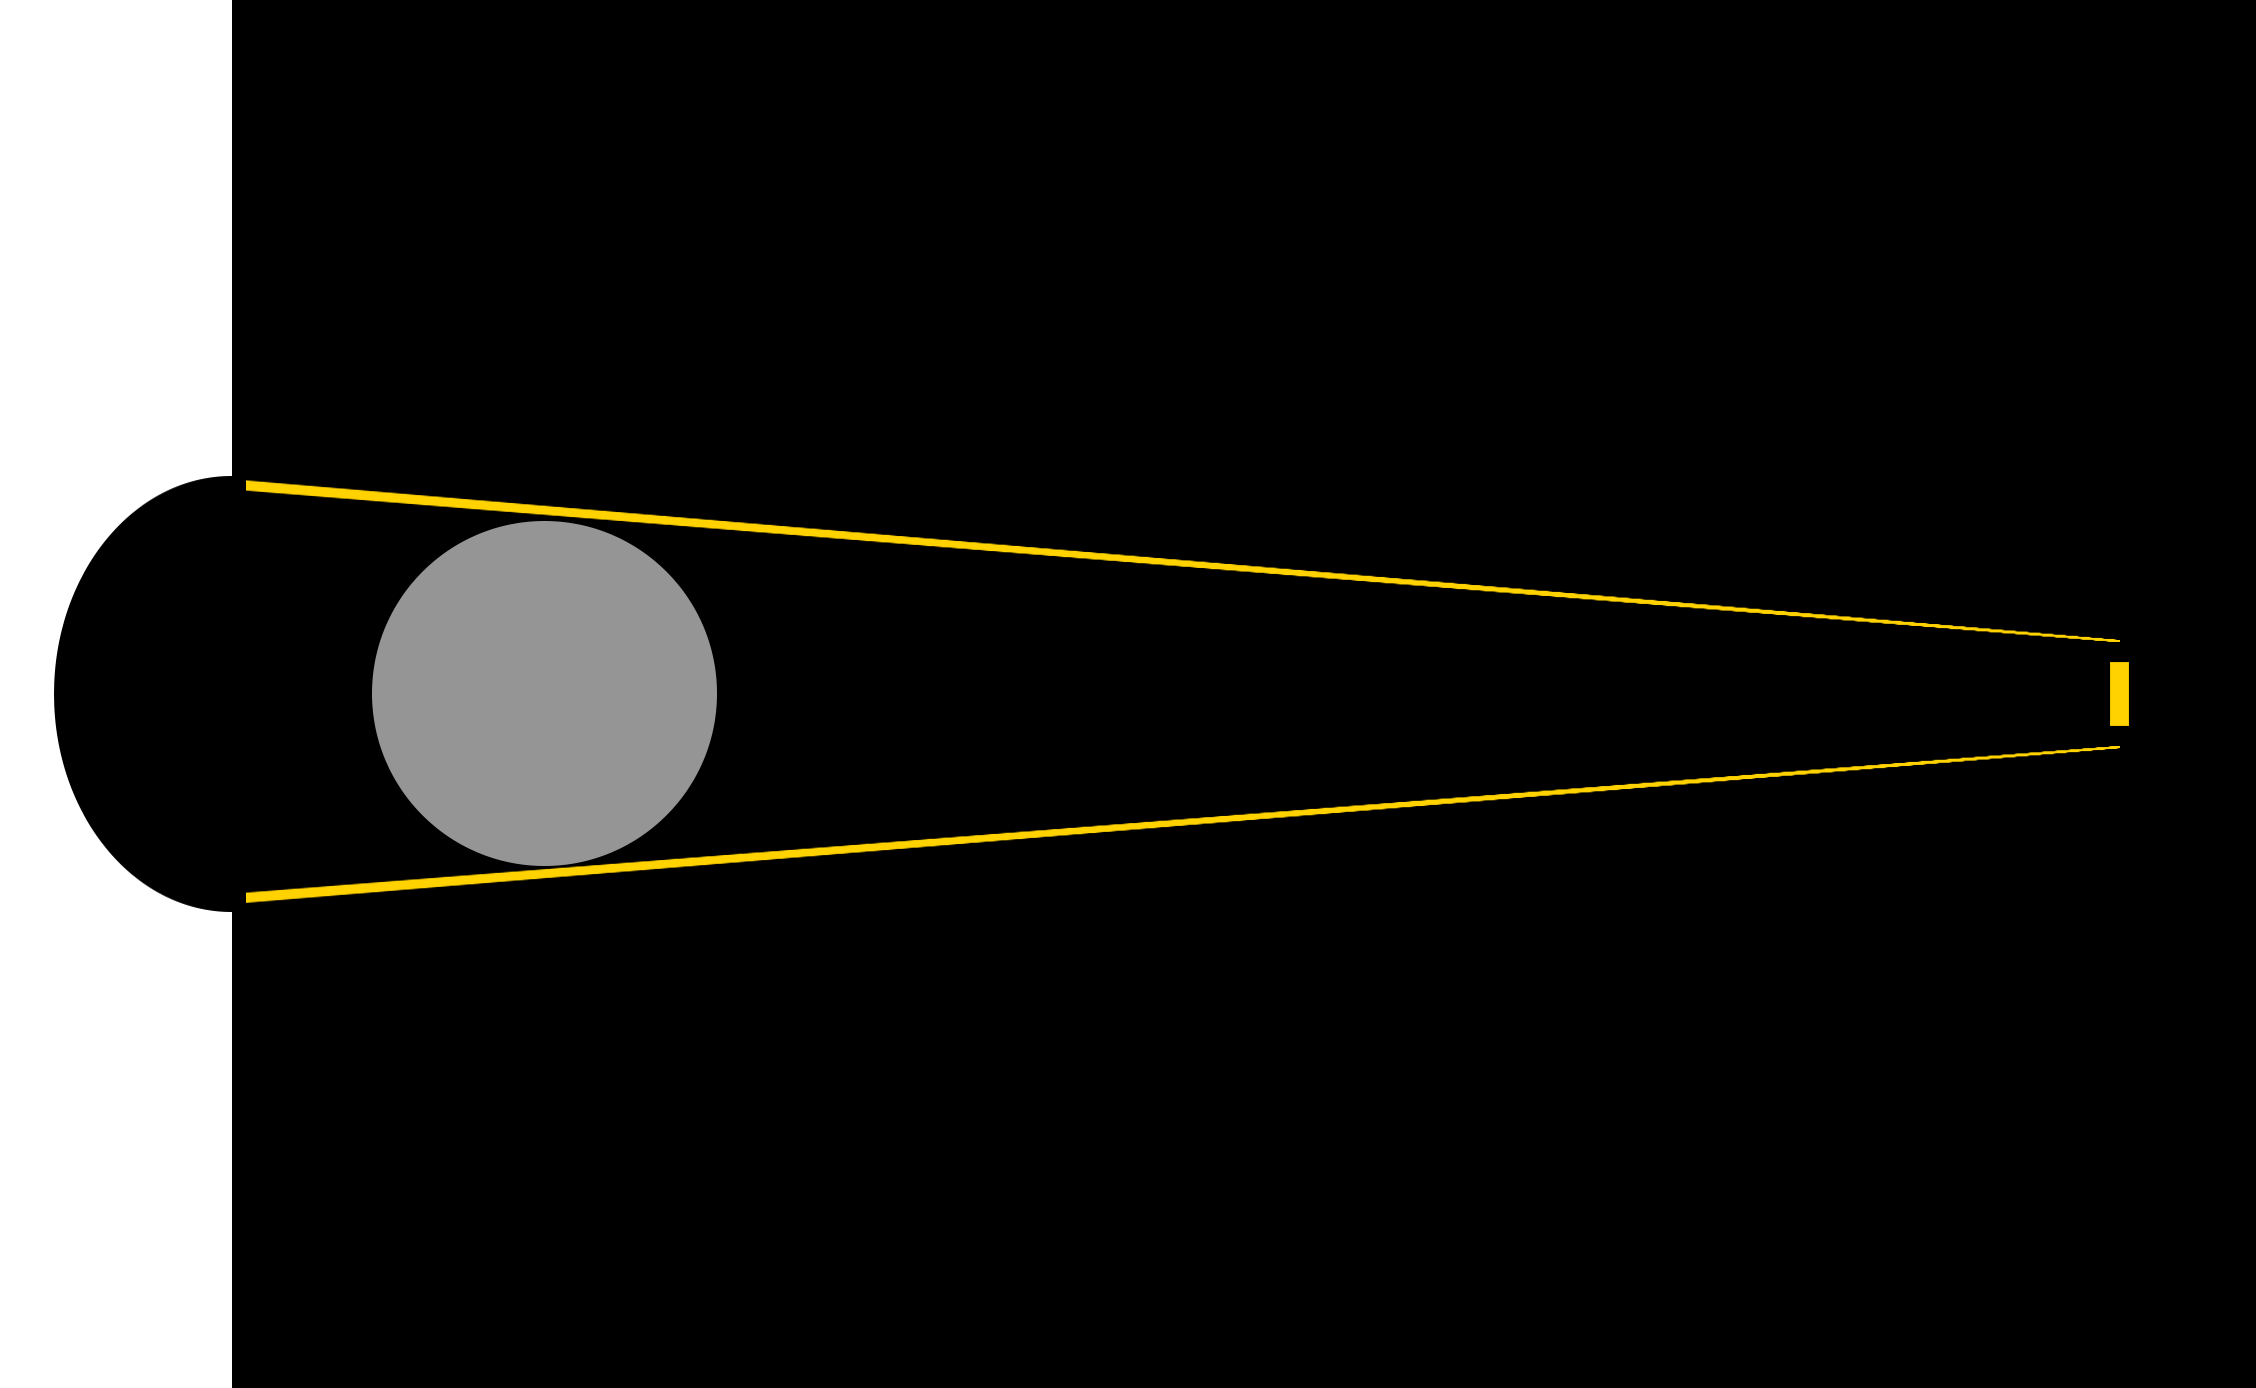
The first part of the video will be dedicated to talk about face building and face tracking in Nuke. Using these tools and techniques will allow us to generate 3D heads and faces using only a few photos with the help of AI. Once we have the 3D model, we should be able to track and matchmove a shot to do a full head replacement or to extend/enhance some facial features.

In the second part of the video I will show you a technique that I used while working on Happt Feet to generate foot prints and foot trails. A pretty neat technique that relies on transferring information between surfaces instead of going full on with complex simulations.

This is a 3.30 hours video, so grab yourself a cup of coffee and enjoy!
All the information on my Patreon channel.

As always, thanks for your support!

Xuan.

Deep compositing by Xuan Prada

Hello patrons,

In this 2 hour video we are going to be talking about deep compositing workflows.

I will show you how to use deep compositing and why you should be using it for most of your shots.
I will explain the basics behind deep rendering and compositing techniques and also we'll go through all the deep tools available in Nuke while comping some simple shots. From volumes and atmospheric effects to solid assets.

Video and downloadable material will be included in the next posts.
All the information on my Patreon.

Thanks for your support!

Xuan.

Real time rendering for vfx, episode 04 by Xuan Prada

Happy New Year!

Real time rendering for vfx episode 04 is here!
This is a long one, around 4 hours split in two different videos, both of them available already for you.

In these two videos I cover a lot of things related with lighting and rendering in Unreal. We will cover all the rendering methods, rasterization, raytracing, hybrid rendering and path tracing.

Some of the topics covered in this video are:

- Rendering methods in Unreal.
- Lightmass.
- Type of lights.
- Volumetric lighting.
- Modulate lighting.
- Global illumination.
- Mesh lights.
- Reflection methods.
- Post processing volumes.
- Particles lighting.
- Blueprints for lighting.
- Light function.
- Core components of a lighting scene.
- Neutral lighting conditions.
- Rasterization.
- Raytracing.
- Hybrid methdos.
- Path tracing.

All the info on my Patreon.

Simple spatial lighting by Xuan Prada

Hello patrons,

I'm about to release my new video "Simple spatial lighting". Here is a quick summary of everything we will be covering. The length of this video is about 3 hours.

- Differences between HDRIs and spatial lighting.
- Simple vs complex workflows for spatial lighting.
- Handling ACES in Nuke, Mari and Houdini.
- Dealing with spherical projections.
- Treating HDRIs and practical lights.
- Image based modelling.
- Baking textures in Arnold/Maya.
- Simple look-dev in Houdini/RenderMan.
- Spatial lighting setup in Houdini/RenderMan.
- Slap comp in Nuke.

Thanks,
Xuan.

Head over my Patreon site to access this video and many more.

Real time rendering for vfx, episode 03 by Xuan Prada

Hello patrons,

Real time rendering for vfx episode 03 is here!
In this episode we will spend around two and a half hours inside Unreal talking about textures, materials, shaders and everything related to the material system.

Some of the topics we are going to cover.

- How to work with textures.
- Shading models.
- Using instances and exposing parameters.
- Fresnel effect.
- Emission.
- Transmission.
- Opacity.
- Multi-channel masks.
- Modulate.
- Displacement.
- Vertex shading.

All the information on my Patreon feed.

Thanks again for your support!
Xuan.

Camera projection masterclass, episode 02 by Xuan Prada

Hello Patrons,

Camera projection masterclass, episode 02 is here! In this video, we are going to be doing two different exercises involving camera projection work in Nuke. The first exercise is a simple one, but also one you'll be doing all the time, a layering camera projection.

The second exercise is a more complex one, we'll be dealing with multiple geometries, different footage, and different approaches to set up our camera projection setup, this will be a coverage projection exercise.

More than two hours of content, also providing working files for you to practice.

As always, I can't thank you enough for your support.

Questions, suggestions, and critiques are always welcome.

All the info on my Patreon site.

Thanks!
Xuan.

Real time rendering for vfx, episode 01 by Xuan Prada

Episode 01 for "real time rendering for vfx" is dropping later today. I called this video "your first day in Unreal engine". We will do from scratch a very simple environment that we can scout in virtual reality.

These are some of the topics covered in this (almost) 4 hours video.

- Assets considerations for real time.
- Exporting/importing assets in Maya/Unreal.
- Using templates in Unreal.
- Collisions.
- Materials basics.
- Lighting/atmospherics basics.
- Exporting projects.
- VR scouting.

Please head over my Patreon site and check this out.
Thanks for your support,
Xuan.

Intro to LOPs and USD by Xuan Prada

My introduction to Houdini Solaris LOPs and USD is already available on my Patreon feed.
These are the topics that we are going to be covering.

- Introduction to USD and LOPs
- Asset creation worflow
- Simple assets
- Complex assets
- Manual layout and set dressing
- Using instances in LOPs
- Set dressing using information from Maya
- Using departments inputs/outputs
- Publishing system
- Setup for sequence lighting
- Random bits

This introduction is around 4.30 hours long.
Check it out here.

Camera projection masterclass, episode 01 by Xuan Prada

The very first episode for "Camera projection masterclass" has dropped. For more than two and a half hours I will be introducing you to the fascinating work of camera projection for visual effects. This is a long format series where I will be covering many concepts, ideas and practical exercises. Let's see what today's episode is all about.

- Introduction to the course
- Matte painting evolution
- Matte painting in the visual effects pipeline
- Matte painting workflows and tools
- Camera projection fundamentals
- Types of camera projections
- Common issues
- Camera projection elements in Nuke and Maya
- Recipes for all type of camera projections in Nuke
- A few words about Photoshop

Downloadable material will be available for certain tiers.

As always, thanks a lot for your support, you make this channel.
Check out my Patreon for more information.
Xuan.

Introduction to heightfields by Xuan Prada

This is the first part of the "Redshift little project" we are doing to conclude the "Introduction to Redshift for VFX" series. In this case, I will explain to you the basics of Houdini's heightfields. The most common tools, different workflows, how to export attributes, geometry, and textures, how to use real world data, and many more things. In the end, is about three hours of video training that will set you up quickly to start working with heightfields.

The video will be available for subscribers in my Patreon site.
Xuan.

Introduction to Redshift - little project by Xuan Prada

My Patreon series “Introduction to Redshift for VFX” is coming to an end. We have already discussed in depth the most basics features like global illumination and sampling. I shared with you my own “cheat sheets” to deal with GI and sampling. We also talked about Redshift lighting tools, built-in atmospheric effects, and cameras. In the third episode we talked about camera mapping, surface shaders, texturing, displacement maps from Mari and Zbrush, how to ingest Substance Painter textures and did a few surfacing exercises.
This should give you a pretty good base to start your projects in Houdini and Redshift, or whatever 3D app you want to use with Redshift.

The next couple of videos about this series are going to be dedicated to doing from scratch to finish a little project using Redshift. We are going to be able to cover more features of the render engine and also discover more broad techniques that hopefully you will find interesting. Let me explain to you what is all of this about.

We’ll be doing this simple shot below from start to finish, it is quite simple and graphic I know, but to get there I’m going to explain to you many things that you are going to be using quite a lot in visual effects shots, more than we actually end up using in the shot.

We are going to start by having a quick introduction to SpeedTree Cinema 8 to see how to create procedural trees. We will create from scratch a few trees that later will be used in Houdini. Once we have all the models ready, we will see how to deal with SpeedTree textures to use them in Redshift in an ACES pipeline.

These trees will be used in Houdini to create re-usable assets llibraries and later converted to Redshift proxies for memory efficiency and scattering, also to be easily picked up by lighting artists when working on shots.

With all these trees we will take a look at how to create procedural scattering systems in Houdini using Redshift proxies. We will create multiple configurations depending on our needs. We are also going to learn how to ingest Quixel Megascans assets, again preparing them to work with ACES and creating an additional asset for our library. We will also re-use the scatterers made for trees to scatter rocks and pebbles.

To scatter all of that will be used as a base Houdini’s height fields. For this particular shot, we are going a very simple ground made with height fields and Megascans, but I’m going to give you a pretty comprehensive introduction to height fields, way more than what you see in the final shot.

Once all the natural assets are created, we’ll be looking at the textures and look-dev of the character. Yes, there is a character in the shot, you don’t see much but hey, this is what happens in VFX all the time. You spend months working on something barely noticeable. We will look into speed texturing and how to use Substance Painter with Redshift.

suit.png

Now that we are dealing with characters, what if I show you how to “guerrilla” deal with motion capture? So you can grab some random motion capture from any source and apply it to your characters. Look at the clip below, nothing better than a character moving to see if the look actually works.

It looks better when moving, doesn’t it? There is no cloth simulation btw, it is a Redshift course, we are not going that far! Not yet.

Any environment work, of course, needs some kind of volumetrics. They create nice lighting effects, give a sense of scale, look good and make terrible render times. We need to know how to deal with different types of volumetrics in Redshift, so I’m going to show you how to create a couple of different atmospherics using Houdini’s volumes. Quite simple but effective.

Finally, we will combine everything together in a shot. I will show you how to organize everything properly using bundles and smart bundles to configure your render passes. We will take a look at how Redshift deals with AOVs, render settings, etc. Finally, we will put everything together in Nuke to output a nice render.

Just to summarize, this is what I’m planning to show you while working on this little project. My guess is that it will take me a couple of sessions to deliver all this video training.

  • Speed Tree introduction and tree creation

  • ACES texture conversion

  • ACES introduction in Houdini and Redshift

  • Creation of tree assets library in Houdini

  • Megascans ingestion

  • Character texturing and look-dev

  • Guerrilla techniques to apply mocap

  • Introduction to Houdini’s height fields

  • Redshift proxies

  • Scattering systems in Houdini

  • Volume creation in Houdini for atmospherics

  • Scene assembly

  • Redshift render settings

  • Compositing

  • Something that I probably forgot

All of this and much more training will be published on my Patreon. Please consider supporting me.

Thanks,
Xuan.

Hard light / soft light / specular light / diffuse light by Xuan Prada

These days we are lucky enough to apply the same photographic and cinematographic principles to our work as visual effects artists lighting shots. That's why we are always talking about cinematography and cinematic language. Today we are going to talk about some very common techniques in the cinematography world: hard light, soft light, specular light and diffuse light.

The main difference between hard light and soft light do not eradicate in the light itself but in the shadows. When the shadow is perfectly defined and opaque we talk about hard light. When the shadows are diffuse we called it soft lighting, the shadows will also be less opaque.

Is there any specific lighting source that creates hard or soft lighting? The answer is no. Any light can create hard or soft lighting depending on two factors.

  1. Size: Not only the size of the practical lighting source but also the size in relationship with the subject that is being illuminated.
  2. Distance: In relation to the subject and the placement of the lighting source.

Diffraction refers to various phenomena that occur when a wave encounters an obstacle or a slit. It is defined as the bending of light around the corners of an obstacle or aperture into the region of geometrical shadow of the obstacle.

When a light beam impacts on the surface of an object, if the size of the lighting source is similar to the size of the object, the light beam will go parallel and get slightly curved towards the interior.

If the size of the lighting source is smaller than the object or it is placed far away from it, the light beam won't bend creating very hard and defined shadows.

If the lighting source is bigger than the subject and it's placed near of it, the light beam will get curved a lot generating soft shadows.

If the lighting source is way bigger than the subject and it's place near of it, the light beam will be curved a lot, even they will get mixed at some point. Consequently the profile of the subject will not be represented in the shadows.

If a big lighting source is placed very far of the subject, its size will be altered in relation with the subject, and its behavior will be the same as a small lighting source, generating hard shadows. The most common example of this is the sun. It is very far but still generates hard lighting. Only on cloudy days the sun lights gets diffused by the clouds.

In two lines

  • Soft light: Big lighting sources and or close to the subject.
  • Hard light: Small lighting sources and or far from the subject.

Specular light: Lighting source very powerful in the center that gradually loses energy toward its extremes. Like a traditional torch. It generates very exposed and bright areas in the subject. Like the lights used in photo calls and interviews.

Diffuse light: Lighting source with uniform energy all over its surface. The lighting tends to be more compensated when it hits the subject surface.

Diffuse light and soft light are not the same. When we talk about soft lighting we are talking about soft shadows. When we mention diffuse light we are talking about the distribution of the light, equally distributed along its surface.

Some 3D samples with Legos.

  • Here the character is being lit by a small lighting source, smaller than the character itself and placed far from the subject. We get hard light, hard shadows.
  • Here we have a bigger lighting source, pretty much same size as the character and placed close to it. We get soft lighting, soft shadows.
  • This is a big lighting source, much bigger than the subject. We now get extra soft lighting, losing the shape of the shadows.
  • Now the character is being lit by the sun. The sun is a huge lighting source but being placed far far away from the subject it behaves like a small lighting source generating hard light.
  • Finally there is another example of very hard light caused by the flash of the camera, another very powerful and concentrated point of light placed very close to the subject. You can get this in 3D reducing a lot the spread value of the light.
  • Now a couple of images for specular and diffuse light.

UDIM workflow in Nuke by Xuan Prada

Texture artists, matte painters and environment artists often have to deal with UDIMs in Nuke. This is a very basic template that hopefully can illustrate how we usually handle this situation.

Cons

  • Slower than using Mari. Each UDIM is treated individually.
  • No virtual texturing, slower workflow. Yes, you can use Nuke's proxies but they are not as good as virtual texturing.

Pros

  • No paint buffer dependant. Always the best resolution available.
  • Non destructive workflow, nodes!
  • Save around £1,233 on Mari's license.

Workflow

  • I'll be using this simple footage as base for my matte.
  • We need to project this in Nuke and bake it on to different UDIMs to use it later in a 3D package.
  • As geometry support I'm using this plane with 5 UDIMs.
  • In Nuke, import the geometry support and the footage.
  • Create a camera.
  • Connect the camera and footage using a Project 3D node.
  • Disable the crop option of the Project 3D node. If not the proejctions wouldn't go any further than UV range 0-1.
  • Use a UV Tile node to point to the UDIM that you need to work on.
  • Connect the img input of the UV Tile node to the geometry support.
  • Use  a UV Project node to connect the camera and the geometry support.
  • Set projection to off.
  • Import the camera of the shot.
  • Look through the camera in the 3D view and the matte should be projected on to the geometry support.
  • Connect a Scanline Render to the UV Project.
  • Set the projection model to UV.
  • In the 2D view you should see the UDIM projection that we set previously.
  • If you need to work with a different UDIM just change the UV Tile.
  • So this is the basic setup. Do whatever you need in between like projections, painting and so on to finish your matte.
  • Then export all your UDIMs individually as texture maps to be used in the 3D software.
  • Here I just rendered the UDIMs extracted from Nuke in Maya/Arnold.

RGB masks by Xuan Prada

We use RGB masks all the time in VFX, don't we?
They are very handy and we can save a lot of extra texture maps combining 4 channels in one single texture map RGB+A.

We use them to mix shaders in look-dev stage, or as IDs for compositing, or maybe as utility passes for things like motion blur o depth.

Let's see how I use RGB masks in my common software: Maya, Clarisse, Mari and Nuke.

Maya

  • I use a surface shader with a layered texture connected.
  • I connect all the shaders that I need to mix to the layered texture.
  • Then I use a remapColor node with the RGB mask connected as mask for each one of the shaders.

This is the RGB mask that I'm using.

  • We need to indicate which RGB channel we want to use in each remapColor node.
  • Then just use the output as mask for the shaders.

Clarisse

  • In Clarisse I use a reorder node connected to my RGB mask.
  • Just indicate the desired channel in the channel order parameter.
  • To convert the RGB channel to alpha just type it in the channel order field.

Mari

  • You will only need a shuffle adjustment layer and select the required channel.

Nuke

  • You can use a shuffle node and select the channel.
  • Or maybe a keyer node and select the channel in the operation parameter. (this will place the channel only in the alpha).

New Tutorial Release – Creating HDRI Environments for 3D Lighting by Xuan Prada

My new course for Digital Tutors in out.

What you will learn

In this series of tutorials we will learn how to create HDRI environments for 3D lighting and use them in Maya and V-Ray to light a 3D asset.Throughout the training we will cover the whole lighting process and creating a complete shot from scratch. We will start shooting HDRI on set and we will finish the final shot in NUKE, integrating a 3D asset in a real environment.


By the end of this tutorial you will be able to shot your own HDRI panoramas and create 3D light rigs to light your own projects.

Check it out here.